A differential breather kit installation raises a vehicle’s breather outlets, reducing the chance of water and contaminants entering when driving through water or mud. Differential breathers let pressure equalise as components heat and cool, so raising the hose outlets can provide practical protection without sealing the components.
If you’re planning water crossings or fitting other 4×4 accessories, it makes sense to consider where each breather ends and how the hose will be routed. A suitable setup depends on which components you want to extend, the vehicle’s existing breather layout and the space available for secure hose runs.
This guide explains what diff breathers do, how to choose a vehicle-specific or universal kit, and how raised extensions can limit contamination. It covers the main installation steps, tools and a time guide: most breather extension kits take approximately one to four hours to install.
Key Takeaways
- Choose a vehicle-specific or universal kit by matching its fittings and hose layout to your vehicle’s breather points.
- Plan raised hose routes that keep outlets high and clear of heat, moving parts and abrasion.
- Identify which drivetrain components need extending, then select the kit ports and fittings to suit.
- Allow for careful hose routing and fitting; installation time depends on the vehicle layout and the work required.
Choosing a vehicle-specific or universal breather kit
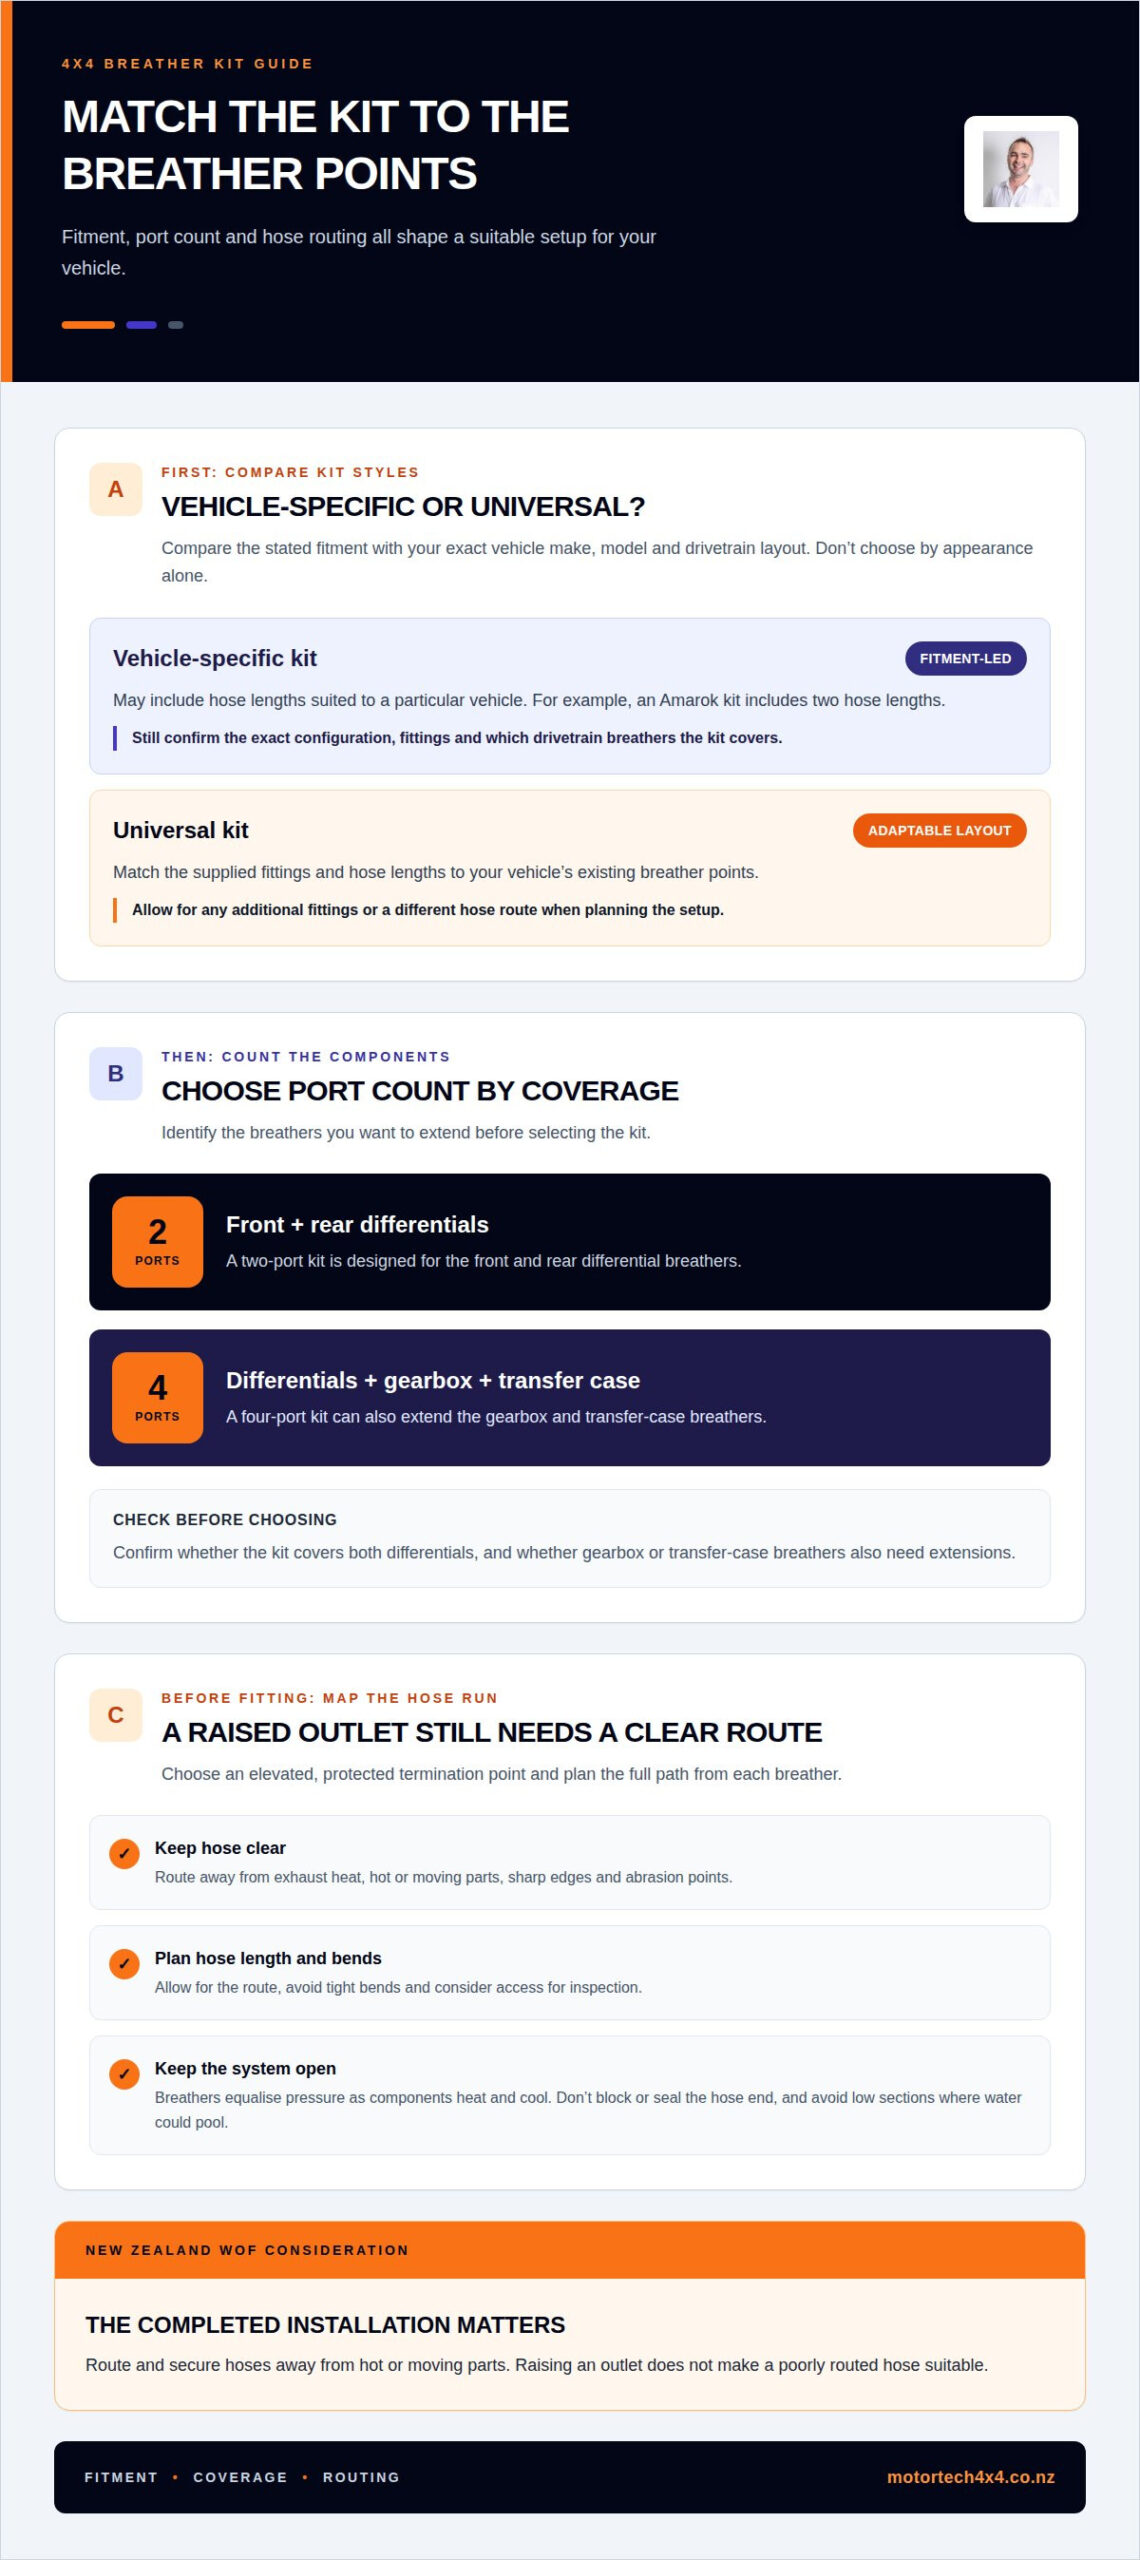
Choose a kit that matches your vehicle’s existing breather fittings, hose layout and port count. Start by identifying the vehicle’s configuration, then decide which components you want to extend.
For a New Zealand WOF, focus on the completed installation: route and secure hoses away from hot or moving parts. Raising an outlet does not make poorly routed hose suitable.
-
Compare vehicle-specific and universal kits
Compare the kit’s stated fitment with your vehicle’s make, model and drivetrain layout. A vehicle-specific kit may include hose lengths suited to that vehicle; for example, an Amarok kit includes two hose lengths. A universal kit offers a more adaptable layout, but you’ll need to match its fittings and hose lengths to the breather points. Don’t choose by appearance alone.
-
Check vehicle-specific kit fitment
Confirm the kit suits your exact vehicle configuration, then match its fittings to the existing breather outlets. Check whether it covers both the front and rear differentials, and whether gearbox or transfer-case breathers also need extensions. Vehicle-specific packaging can simplify routing, but you still need to plan a clear path through the engine bay or chassis.
- Choose the port count to suit the components you want to extend. A two-port kit is designed for the front and rear differential breathers. A four-port kit can also extend the gearbox and transfer-case breathers. Identify the relevant breather points before selecting extra ports.
- Plan outlet positions before installation. Choose an elevated, protected location, and consider hose length, bends and access for inspection. Keep hose clear of exhaust heat, sharp edges and moving parts. If a universal kit needs additional fittings or a different route, account for that when choosing the kit.
How raised breather extensions help reduce drivetrain contamination
Yes. Raised extensions move breather openings away from water and contaminants during a crossing. They do not make the drivetrain waterproof: seals and other openings can still let water in.
- Understand how pressure changes before planning a crossing. Air in the differential, gearbox and transfer case expands as components heat and contracts as they cool. Breathers let pressure equalise. If an opening is low, water or debris can reach it more easily during exposure.
- Position each extended outlet above areas likely to be submerged on your route. Raising an outlet reduces direct exposure at the breather opening, but cannot protect components beyond that hose. Water depth, vehicle angle and changing terrain still affect exposure.
- Let the driveline cool before entering water. When a hot housing meets cooler water, it can cool rapidly, changing the pressure inside. Allowing the vehicle to cool reduces this sudden temperature change. Raised hoses are not a substitute for careful crossing preparation.
- Keep the breather system open so it can perform its intended function. Differentials need pressure equalisation as temperatures change, so don’t block or seal the hose end. Route extensions to prevent water pooling in a low section and obstructing airflow.
- Consider the whole drivetrain, not just the differentials. Gearbox and transfer-case breathers can also be exposed during a crossing. Extending only the differential outlets leaves the other breather openings in their original positions.
- Inspect the system after exposure to water or mud. Look for damaged, disconnected or blocked hose, and consider the condition of seals and drivetrain fluids. A raised breather limits one route for contamination, but cannot prevent water entering through every possible opening.
A Tundra owner reported encountering about 3 feet of water during a water crossing, but that account does not establish that raised breathers make a drivetrain safe at the same depth. A four-inch stainless steel snorkel is mentioned as protection against water entering a vehicle’s engine; it addresses the engine, not the drivetrain’s breather openings. Keep those protections distinct when assessing exposure: an engine snorkel does not change the need to raise and inspect drivetrain breathers, or remove the possibility of water entering through seals and other openings.
What do diff breathers do?
- First locate each factory breather and identify its connection. Differential breathers equalise pressure as temperatures change. Trace both original outlets for the front and rear differentials before fitting extensions. This helps prevent connecting a hose to the wrong point or overlooking another drivetrain breather.
- Gather the supplied hose, fittings and breather head, along with a blade for cutting tubing. A plastic pry tool can help remove a tail light when access requires it. Some vehicle installations also require drilling and tapping for supplied fittings, so assess the mounting location before starting.
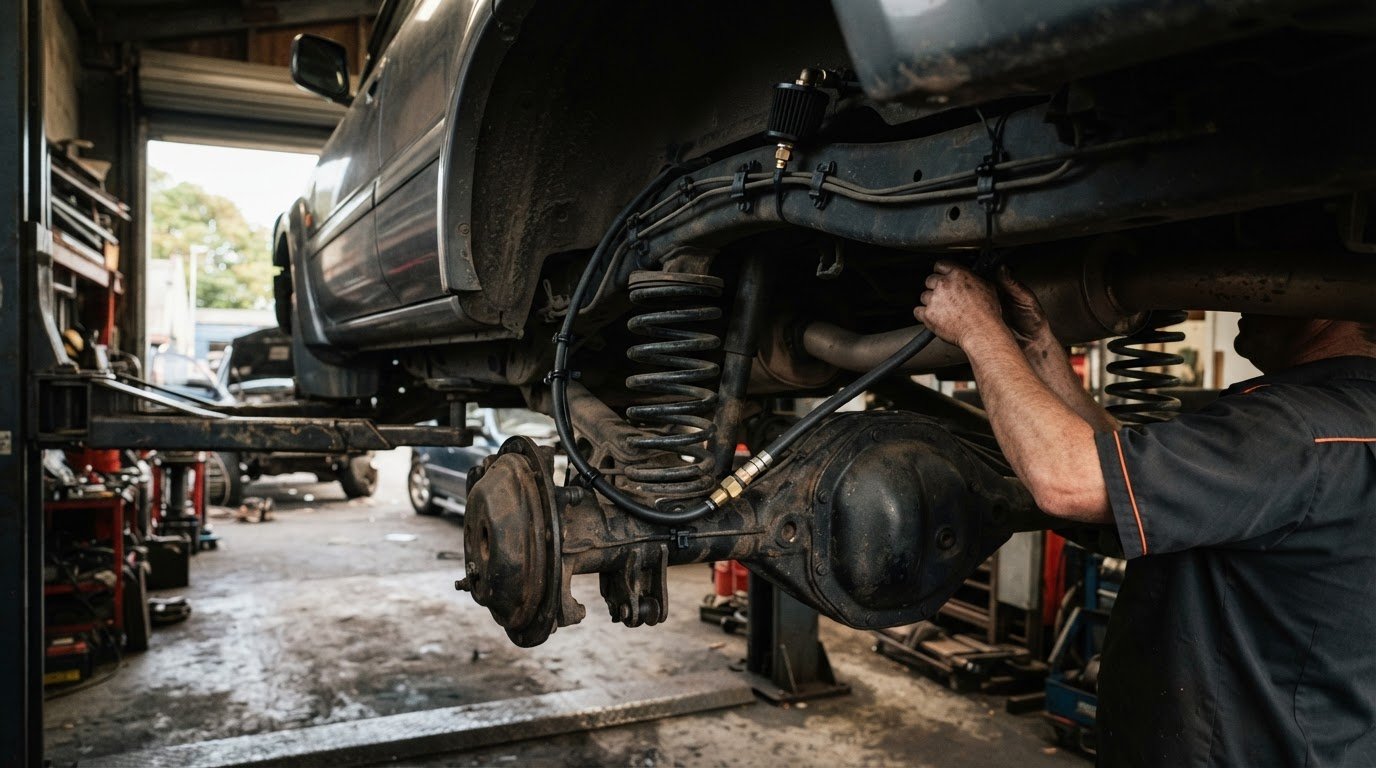
- Disconnect or remove the original breather arrangement as directed by the kit instructions, then connect each extension to the matching differential outlet. Route the front and rear lines separately towards the chosen termination point. Secure every connection, and don’t leave an opening exposed during installation.
- Route hose clear of exhaust parts, sharp edges and moving components. Plastic breather hose must be kept away from components reaching 500°C. Avoid tight bends, pinching and low sections where water could collect. Secure the line along a protected path, then cut excess tubing cleanly with the blade.
- Incorrect installation can leave a loose fitting, kinked hose or low outlet, increasing the risk of contamination or obstructing pressure equalisation. Before finishing, inspect every connection and the full hose route. Confirm the front and rear lines are separate, supported and clear of heat and abrasion points.
- After installation, check that each hose is open, connected and free of visible damage. Reinspect the fittings and routing after use, particularly after exposure to mud or water. Don’t block the outlet, and remember that a visual inspection cannot rule out every leak.
Installation time and tools
- Allow approximately one to four hours for most breather extension kit installations. Use this as a planning guide, not a fixed duration. Vehicle access, existing breather locations and the route to each outlet all affect the work involved.
- Lay out the kit components before starting. Identify the hose, supplied fittings and breather head, then match each fitting to its intended connection. Check the routing plan against the vehicle to ensure the hose reaches its termination point without stretching or sharp bends.
- Have a blade ready to cut tubing to length. Measure each planned run before cutting, allowing enough hose for secure connections and a practical route. A hose cut too short can strain a fitting; excess hose can form loops that snag or rub.
- Use a plastic pry tool if the vehicle’s installation requires tail-light removal for access. Work carefully around the housing and surrounding trim. This tool is specific to that access task, so don’t force the light or use the pry tool where it could damage a surface.
- Assess the fitting location before installation. Some vehicles require drilling and tapping a thread for supplied fittings. This adds work beyond routing hose, so consider whether the mounting point is accessible and suitable before making changes.
- Allow time to inspect the full route after fitting. Check that connections are seated, hose is not pinched, and each line avoids heat and abrasion. A careful final inspection can catch routing problems before the vehicle returns to use.
- If the access, fitting work or hose routing is beyond your tools or experience, arrange professional installation support. This is especially useful where drilling and tapping or restricted vehicle access complicates the job.
Use a blade to cut tubing to length, following the planned route for each hose run. Make sure each cut allows a secure fitting connection without forcing the hose into position. Preparing the blade in advance keeps this step within the tool preparation already described and supports a deliberate installation sequence.
Motortech 4X4
Motortech 4X4 can help plan and carry out differential breather kit installation when vehicle access, hose routing or fitting work makes a workshop approach useful. The setup can be considered alongside your broader 4×4 configuration, including existing snorkels, bullbars, suspension kits or GVM upgrades. These components can affect available space and access, so the breather route should suit the vehicle as it is equipped.
Bring the vehicle’s make, model and drivetrain details, along with the components you want to extend. This helps shape an installation plan around the required connections and hose route, rather than assuming every vehicle layout is the same.
For help with your breather kit installation, contact Motortech 4X4.
Plan your next 4×4 upgrade
Include breather routing in your vehicle’s wider setup plan rather than treating it as an isolated addition. Consider how you use the vehicle, which changes are already fitted and what you might add later. This context helps organise future work.
Keep a simple record of each breather line’s route and connections. It can make later servicing or accessory changes easier to plan. You can then consider a differential breather kit installation alongside the vehicle’s current setup and future requirements.
For a practical next step, contact Motortech 4X4 to discuss your vehicle and plans. With a considered approach, you can move ahead with confidence in your setup.
Frequently Asked Questions
What does a differential breather kit do, and which vehicles need one?
A differential breather kit extends the axle housing’s breathing point, helping reduce the chance of water or debris entering through a low outlet. It’s most relevant for 4x4s used on routes where axles may be exposed to water, mud or heavy spray. A vehicle used mainly on sealed roads may have less reason to add raised extensions.
Where should differential breather hoses be routed and mounted?
Route each hose to an elevated, sheltered position that remains accessible for inspection. In a ute, this could be a protected area within the engine bay or body, away from direct wheel spray. Leave enough slack for vehicle movement, and avoid trapping the hose behind panels or where later servicing could crush or disconnect it.
What tools and fittings are needed to install a differential breather kit?
Typical kit components include breather hose, connection fittings and a breather head. A blade can trim the hose, while a plastic pry tool may help with access behind trim. Some vehicle layouts require drilling and tapping for supplied fittings. Keep the kit instructions beside the parts, and use the specified fitting method rather than forcing mismatched connections.