What if the brightest camping lights aren’t the best choice for your campsite? A lantern, torch, light bar or combination can each serve a different purpose, and one brightness figure won’t tell you whether a setup suits your trip.
To choose well, consider what you need to see, where the light will sit, how portable it needs to be and how you’ll power it. This guide compares common light types and practical features, then shows how to plan lighting for different campsite tasks around New Zealand.
Campsite lighting and vehicle-mounted lighting have different jobs, so placement and power matter as much as output. Motortech 4X4, Auckland’s 4X4 Specialists and Your One-Stop-Shop for 4×4 Performance and Enhancement, is based in Glenfield, North Shore. Its product categories include Camping & Outdoors and LED Lighting.
Key Takeaways
- Plan camping lights around the tasks and areas you need to illuminate, rather than relying on one bright source.
- Compare lanterns, torches, light strips and vehicle-mounted lights by coverage, portability, placement and intended use.
- Use a four-step checklist to match your lighting choices to trip length, campsite layout, shelter and charging options.
- Explore Motortech 4X4’s Camping & Outdoors and LED Lighting categories as part of a vehicle-based camping setup in Glenfield, North Shore, Auckland.
Camping Lights: Start with What You Need to See at Camp
Camping lights are portable or vehicle-based lights used to illuminate campsite tasks and spaces.
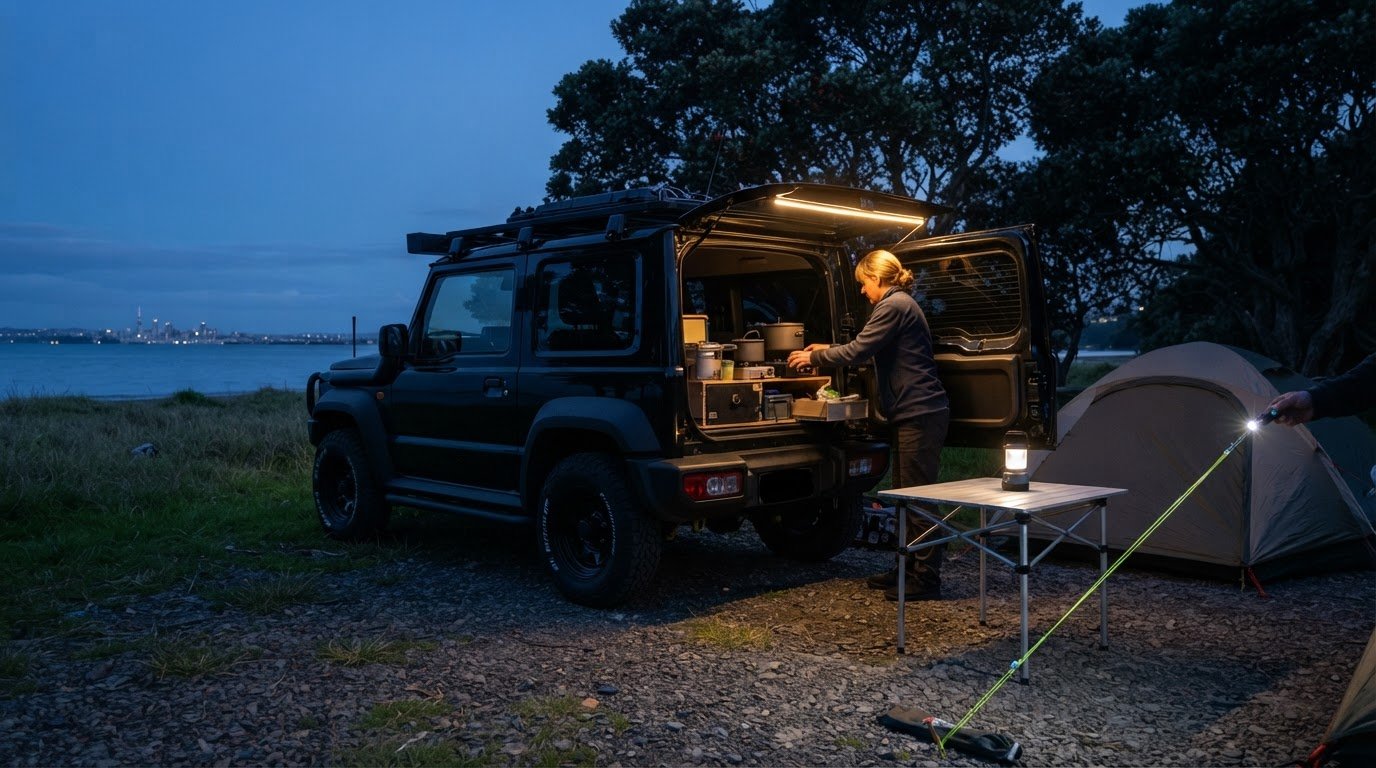
Their usefulness depends on where you place them and what you need to see. One powerful source might brighten the area directly in front of it but leave the cooking bench in shadow, gear inside a shelter hard to find, or a path across camp poorly lit. Plan for separate zones to reduce glare in one spot and dark patches in another.
Which campsite tasks need their own light?
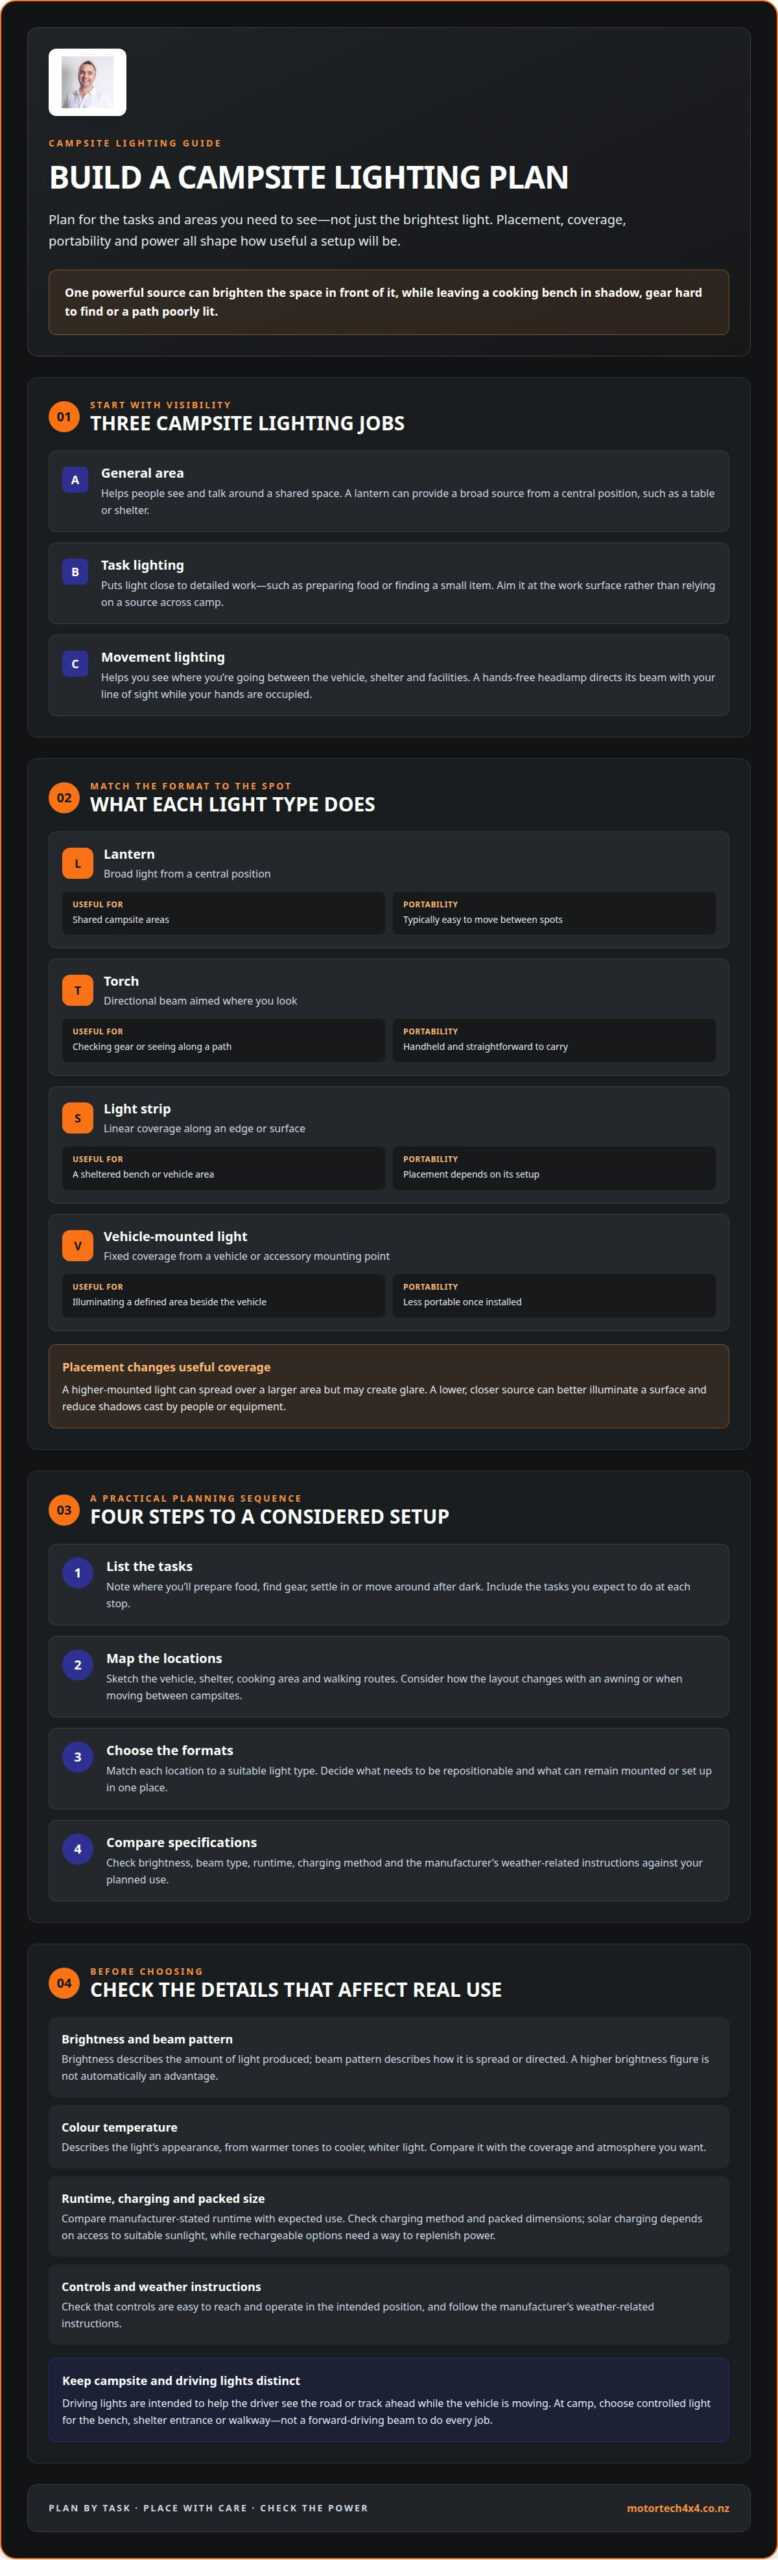
Start by separating three kinds of visibility. General area lighting helps people see and talk around a shared space. Task lighting puts light close to detailed work, such as preparing food or finding a small item in a storage compartment. Movement lighting helps you see where you’re going while carrying gear or walking between the vehicle, shelter and facilities.
For hands-free movement, hands-free headlamps direct a beam with your line of sight while your hands are occupied. For cooking, position a light so it illuminates the work surface rather than relying on a source across camp. Check where shadows fall when someone stands between the light and the area they’re using.
Camping lights versus vehicle driving lights
Campsite visibility and driving illumination have different jobs. At camp, you need controlled light for a bench, shelter entrance or walkway, often while the vehicle is parked. Driving lights are intended to help the driver see the road or track ahead while the vehicle is moving. A beam suited to forward travel may be poorly placed for food preparation or general camp use.
Keep these purposes separate when planning your setup. Choose campsite lighting according to the spaces and tasks you need to cover, rather than assuming vehicle driving lights will illuminate the whole camp effectively.
Camping Light Types and Features: What Each Option Does
Different formats suit different positions around a vehicle-based camp. A practical combination can provide broad coverage, a directed beam and light along a sheltered edge, without relying on one source to do every job.
| Light type | Coverage and placement | Useful for | Portability |
|---|---|---|---|
| Lantern | Broad light from a central position, such as a table or shelter | Shared campsite areas | Typically easy to move between spots |
| Torch | Directional beam aimed where you look | Checking gear or seeing along a path | Handheld and straightforward to carry |
| Light strip | Linear coverage along an edge or surface | Lighting a sheltered bench or vehicle area | Placement depends on its setup |
| Vehicle-mounted light | Fixed coverage from a vehicle or accessory mounting point | Illuminating a defined area beside the vehicle | Less portable once installed |
Placement changes useful coverage: a light mounted high can spread over a larger area but may create glare. A lower, closer source can better illuminate a surface and reduce shadows cast by people or equipment.
Lanterns, torches and light strips
Choose a format to suit where it will be used, not just its advertised brightness. A lantern can serve as a shared source, while a torch lets you direct light as you move. A strip follows a line, making it useful along a bench or sheltered edge. For more background on lantern formats and power considerations, see REI’s guide to choosing a lantern.
Power source, controls and packed size
Rechargeable, replaceable-battery and solar options each have different planning needs. Compare the manufacturer-stated runtime with how long you expect to use the light, and check its charging method and packed dimensions. Solar charging depends on access to suitable sunlight, while rechargeable options need a way to replenish power. Check that the controls are easy to reach and operate in the light’s intended position. For vehicle-based setups, Motortech 4X4’s camping and 4×4 accessories can form part of your planning.
Brightness describes the amount of light produced; beam pattern describes how it is spread or directed. Colour temperature describes the light’s appearance, from warmer tones to cooler, whiter light. Compare these features with the coverage and atmosphere you want, rather than treating a higher brightness figure as an automatic advantage.
How to Choose Camping Lights for a New Zealand Trip
Start with your itinerary and campsite, not a product shortlist. Use this four-step checklist to match camping lights to how you’ll travel and set up.
- List the tasks. Note where you’ll prepare food, find gear, settle in or move around after dark. Include the tasks you expect to do at each stop.
- Map the locations. Sketch the vehicle, shelter, cooking area and walking routes. Consider how the layout changes if you’re using an awning or moving between campsites.
- Choose the formats. Match each location to a suitable light type. Then decide what needs to be repositionable and what can remain mounted or set up in one place.
- Compare specifications. Check brightness, beam type, runtime, charging method and the manufacturer’s weather-related instructions against your planned use.
Plan lighting by campsite zone
Mark the cooking area, shelter entrance, gear storage and routes between them. Position lights to illuminate the work surface or path without shining directly into people’s eyes. A light behind someone working at the bench can leave their body casting a shadow over the task; moving it to one side can improve coverage. Factor in trip length and charging options when deciding how often you can recharge or replace batteries.
Lighting is one part of a wider touring plan. The vehicle-based camping gear guide can help you consider how your shelter, storage and other equipment fit together.
Compare specifications without getting distracted
Brightness figures are most useful when considered alongside beam pattern: a broad spread and a concentrated beam illuminate different areas. Compare stated runtimes at the settings you expect to use, and note the charging method and packed size. For trips involving exposed or changeable conditions, read the product’s weather-use instructions rather than assuming all lights suit the same environment. Specifications are easier to compare when manufacturers explain the conditions used for their tests.
Planning a vehicle-based setup? Explore camping and lighting accessories at Motortech 4X4.
Plan a Camping-Light Setup with Motortech 4X4
A campsite lighting plan works best as part of the wider vehicle setup. The tasks you need to handle, where you’ll do them and how you’ll power your lights all influence which formats make sense. Planning these choices together can help you avoid packing equipment that duplicates a job while leaving another area poorly lit.
Bring the lighting plan into the wider vehicle setup
Start with the locations you identified, then consider how they relate to your shelter, storage and vehicle. A light intended for a cooking area needs to suit that position, while a portable option can be useful if your setup changes between stops. Your power-source choice also needs to fit the trip: consider how long you’ll be away and what charging options you’ll have. Task, location and power decisions work together to create a more coherent campsite setup.
Roof racks are another consideration in a vehicle-based touring plan, alongside how you carry other gear. They’re a related equipment choice, not a substitute for deciding where campsite lighting needs to go. For guidance on selecting and fitting that touring equipment, explore the roof rack buying and installation guide.
Explore camping and lighting accessories in Auckland
Motortech 4X4 is based in Glenfield, North Shore, Auckland. Its Camping & Outdoors and LED Lighting categories offer a local starting point for planning camping gear and lighting as part of a broader 4×4 accessory setup. Keep your trip requirements in view, including where each light will be used and how it fits alongside the rest of your equipment.
For a closer look at the available categories, explore Motortech 4X4.
Make Your Next Camp Setup Work Smarter
Before your next trip, turn your lighting choices into a simple setup plan: note what you’ll use each light for, where it needs to sit and how you’ll keep it powered. A little preparation can help you pack with purpose and adapt as your campsite changes.
Good camping lights are one part of a capable touring vehicle. Motortech 4X4 brings parts, accessories and specialist workshop services together, so you can consider your camping requirements alongside the wider vehicle setup.
Explore Motortech 4X4’s camping and 4×4 accessories in Glenfield, North Shore, Auckland, and plan a setup around the way you camp.
Frequently Asked Questions
How many camping lights do I need for a campsite?
There’s no fixed number. Plan for the distinct jobs you need to cover, then check for dark gaps. For a compact overnight stop, a shared-area light and a head torch for anyone moving around after dark may be enough. Add another source if you still can’t see comfortably at the cooking bench, in your shelter or while retrieving gear.
What brightness should I look for in camping lights?
Choose brightness to suit the task, not the biggest output available. As a guide, 4WD Talk Overland Lighting Guides and Glocusent Technical Camp Reviews (April 2026) suggest 100 to 200 lumens for tent reading, 300 to 600 for an ambient social area, and 500 to 1,000 for food preparation. Treat these as reference ranges, then compare the light’s output and runtime at your intended setting.
Are rechargeable camping lights better than battery-powered lights?
Neither is automatically better. Rechargeable lights can suit trips where you have a reliable way to recharge them, while replaceable-battery lights let you carry spares without waiting for a charging cycle. For a multi-day trip, consider how many evenings you’ll use a light, whether you can recharge between stops and how practical spare batteries are to pack.
Can I use vehicle lights to illuminate my campsite?
Yes, while the vehicle is parked, suitable exterior work lighting can illuminate an area beside it. Don’t treat driving lights as a substitute for campsite lighting, or use work lamps while driving on public roads. NZTA’s Land Transport Rule: Vehicle Lighting 2004 requires work lamps to have an independent switch and not be operated on public roads in a way that dazzles, confuses or distracts others.
Are solar camping lights suitable for New Zealand trips?
They can be useful if your itinerary gives them access to sunlight for charging. In changeable or overcast conditions, charging may be less dependable, so consider carrying another charging option or a light with a different power source. Before leaving, check how the manufacturer recommends charging the light and plan for evenings when it hasn’t received enough sun.