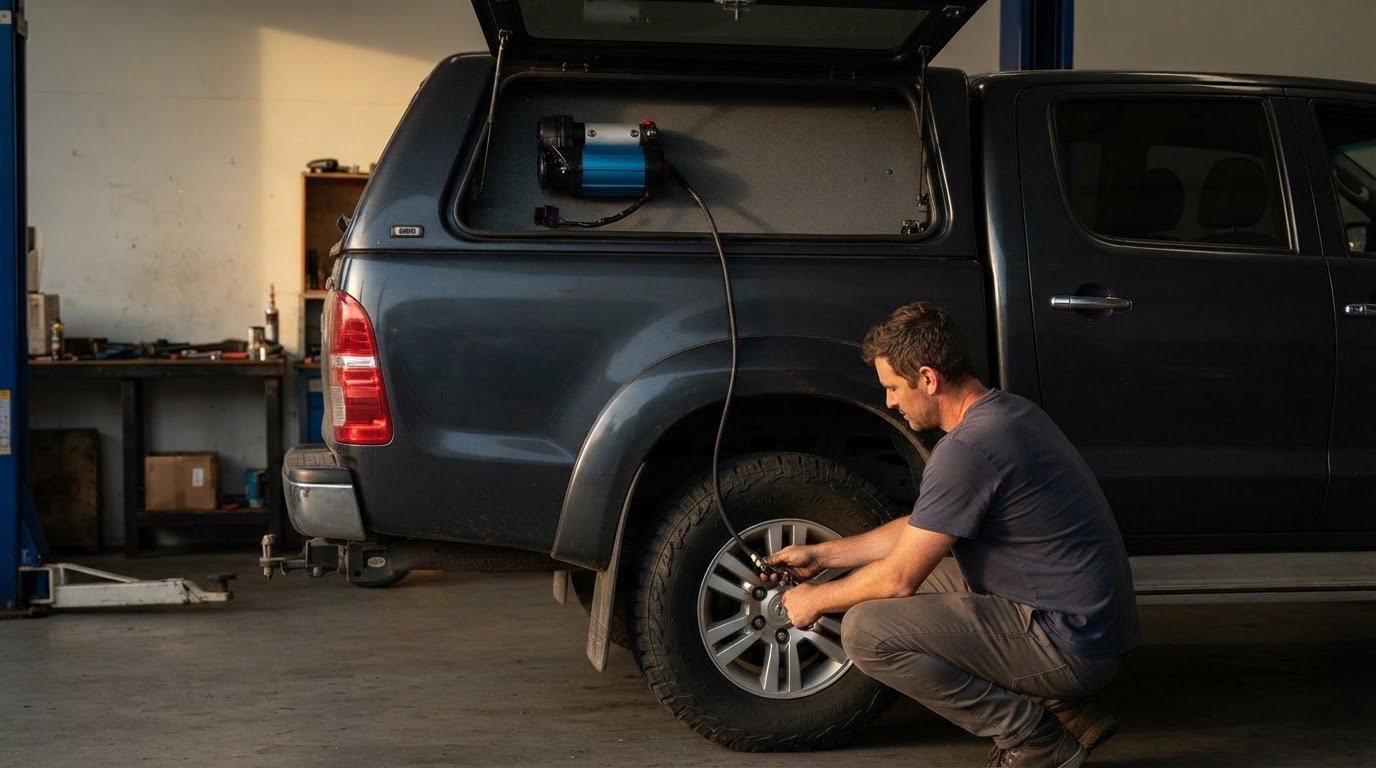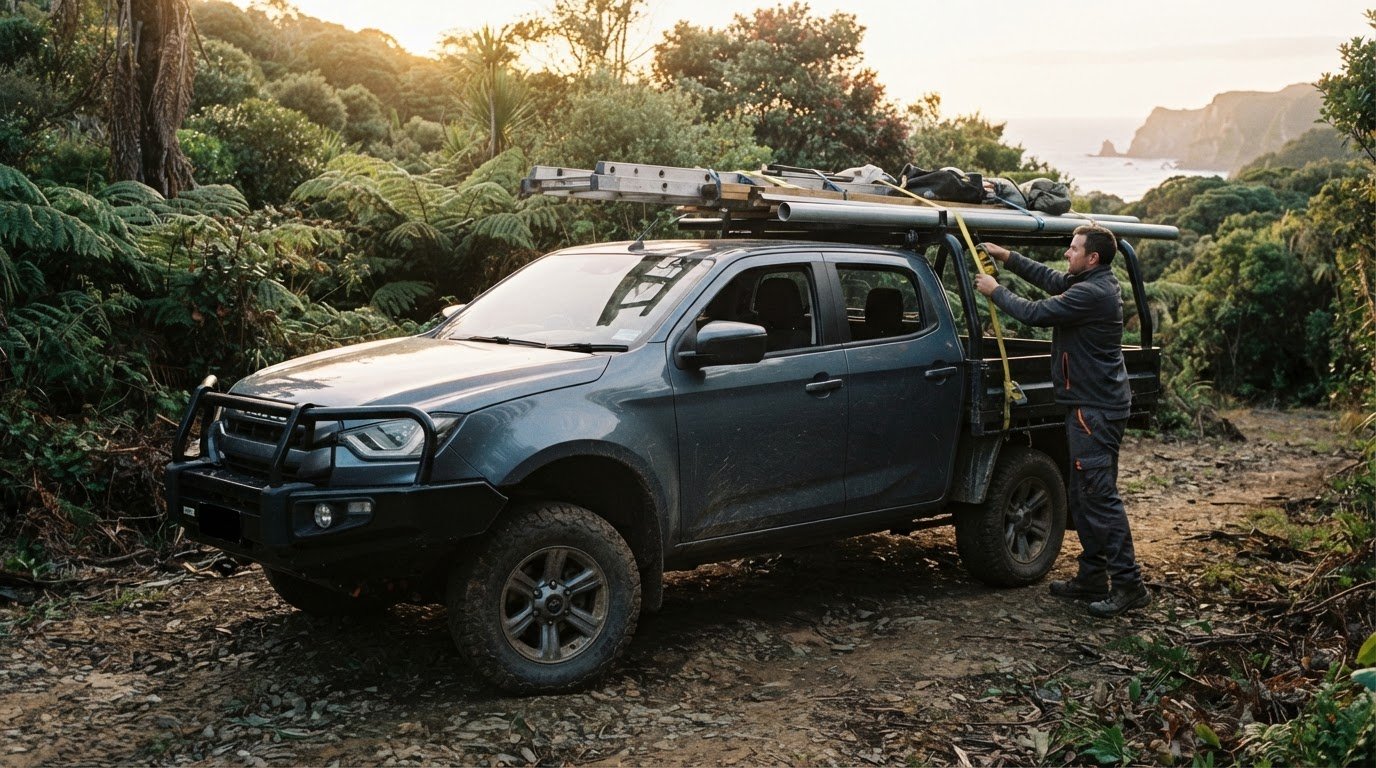
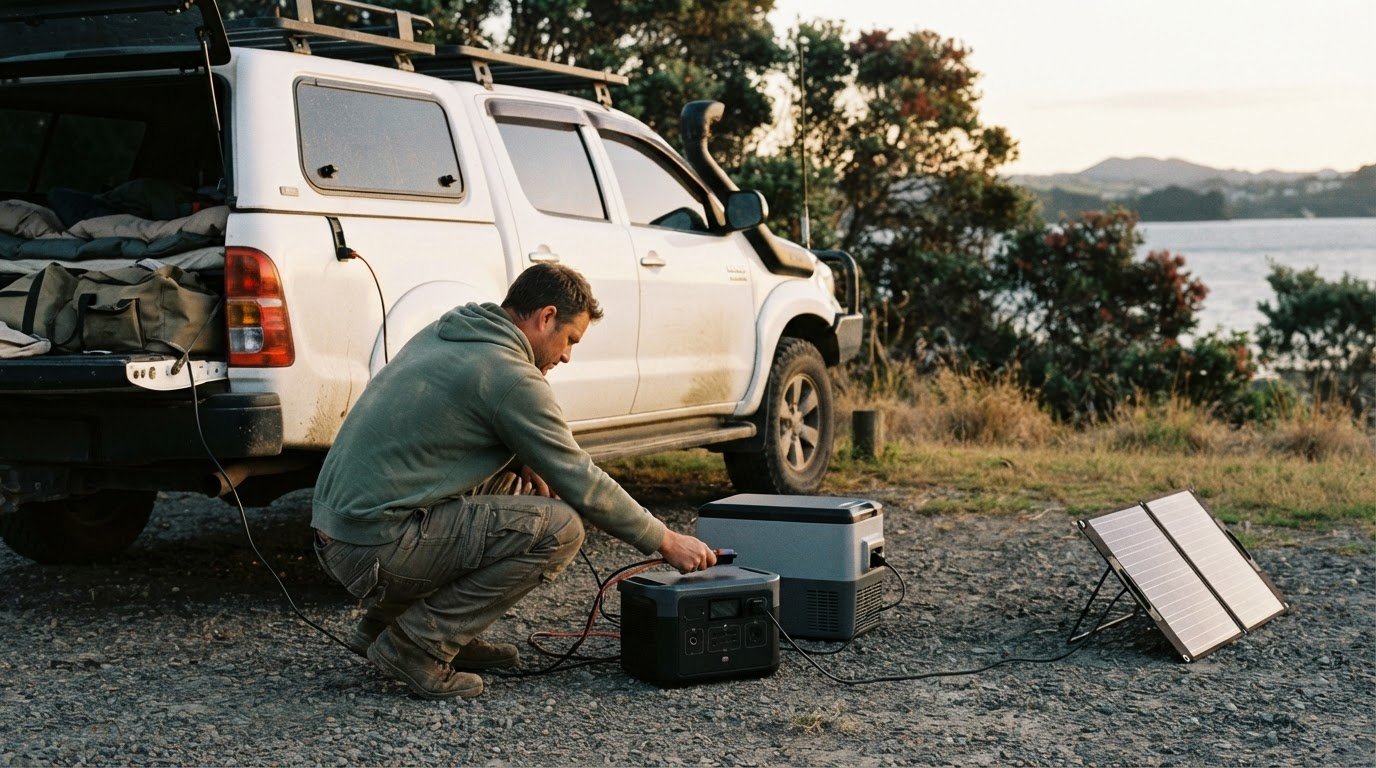
A portable power station isn’t automatically the right answer for every ute campsite. Camping power solutions for utes can use a dual-battery system or a portable power station, with vehicle, solar or mains charging to replenish power. A 300-500 Wh station suits basic phone charging and camp lights; for a fridge or CPAP machine, the recommendation is at least 1000 Wh.
Choose a setup by matching its capacity and charging options to what you’ll power, how long you’ll camp and how you travel. A compact power station may cover lighter needs, while a more integrated system can suit regular trips with several appliances.
This guide compares dual-battery and hybrid systems, vehicle, solar and mains charging, and portable power station capacity. See how each option fits different camping needs and choose a practical setup for your ute.
Key Takeaways
- Compare dual-battery and hybrid systems by how you travel, what you need to power and whether you want a permanently installed setup.
- Match vehicle, solar and mains charging to your trips so you can replenish power in the way that best suits your campsite routine.
- Choose a portable power station by considering the appliances you’ll run and how long you need them to operate between charges.
- Estimate solar needs from your daily power use and available charging time, rather than choosing a panel based on wattage alone.
Dual-battery and hybrid power systems
Camping power solutions for utes range from a separate auxiliary battery to a hybrid setup that combines charging sources. Compare each option with your appliances, travel routine and planned installation layout.
Dual-battery systems
A dual-battery system uses an auxiliary battery for campsite loads, keeping accessory use separate from the starter battery. Vehicle charging can replenish it while travelling, with solar added as another input in a hybrid arrangement. Unlike a portable power station, a dual-battery setup is integrated into the ute. One touring configuration uses a 230 Ah deep-cycle battery in an enclosure beneath the tray.
Battery chemistry and LiFePO4
Lead-acid and lithium batteries have different charging requirements, usable capacity and weight. LiFePO4 is a lithium chemistry used in auxiliary systems; its battery-management system controls charging and discharge. Match the charger to the battery chemistry rather than assuming one profile fits every type. This choice shapes how the battery works with solar, the available stored energy and the demands of the campsite setup.
Deep-cycle capacity and monitoring
Deep-cycle capacity, measured in amp-hours (Ah), describes stored charge, but not appliance runtime by itself. Estimate daily use from each appliance’s draw and operating time. A fridge may run longer when summer temperatures reach 40°C. A battery monitor tracks voltage and current, helping you assess consumption and remaining charge. Use those readings alongside appliance use when deciding whether your system needs more capacity.
Installation and electrical safety
In New Zealand, vehicle modifications and electrical work must meet applicable safety requirements. For a canopy installation, secure the battery, route correctly sized cabling away from heat and abrasion, and fit appropriate fuse protection. A qualified installer can assess the layout, chemistry and charging equipment. These are practical considerations for camping power solutions for utes with a hardwired 12V canopy system.
Typical NZ prices vary with battery chemistry and capacity, panel output, inverter requirements, controls and installation. The price depends on the setup and is provided after a quote request.
| Option | Integration | Charging inputs | Best suited to |
|---|---|---|---|
| Dual-battery | Fixed to ute | Vehicle, with solar possible | Regular canopy appliance use |
| Hybrid | Fixed or modular | Vehicle and solar | Combining charging sources |
Match battery chemistry and usable capacity to your appliances’ energy demand, then choose charging inputs that suit your travel routine.
Solar, vehicle and mains charging
Vehicle charging works while you’re travelling, solar can replenish power at camp, and mains charging suits powered campsites. Combining charging inputs can reduce reliance on any single method.
Solar and alternator charging
A fixed rooftop panel produces power while exposed to sunlight, while an alternator charges the auxiliary battery as the vehicle travels. One touring setup has a permanently mounted 200 W solar panel on its rooftop tent. Mains charging adds another option at powered campsites. Each method suits a different routine: vehicle charging favours driving days, while solar can contribute when parked.
Portable solar panels
Portable panels can sit in sunlight while your ute stays parked in the shade. Angle the panel towards the sun and reposition it as sunlight shifts. Connect it through a compatible solar regulator or power station input, following the equipment instructions. Unlike fixed rooftop panels, portable units need setting up and packing away, but give you more flexibility to find sunlight and adjust the panel’s orientation.
DC-DC chargers and battery isolators
A DC-DC charger controls charging from the vehicle alternator to an auxiliary battery. A battery isolator connects the batteries under suitable charging conditions and separates them when the vehicle is off. A charger provides more controlled charging, while an isolator is a simpler switching approach. Choose based on the alternator, auxiliary battery chemistry and charging requirements, not convenience alone. Both differ from solar charging, which uses panel output.
Solar panel wattage needs
There’s no single panel wattage for every New Zealand camping setup. Estimate your appliances’ daily energy use, then account for sunlight, shade, panel angle and time parked. A fridge running for longer needs more replenishment than occasional phone charging. Before connecting a panel, compare its output with the solar input limits of your battery charger or power station.
For equipment planning beyond charging, browse camping setup gear suited to your trip.
Portable power station capacity for camping
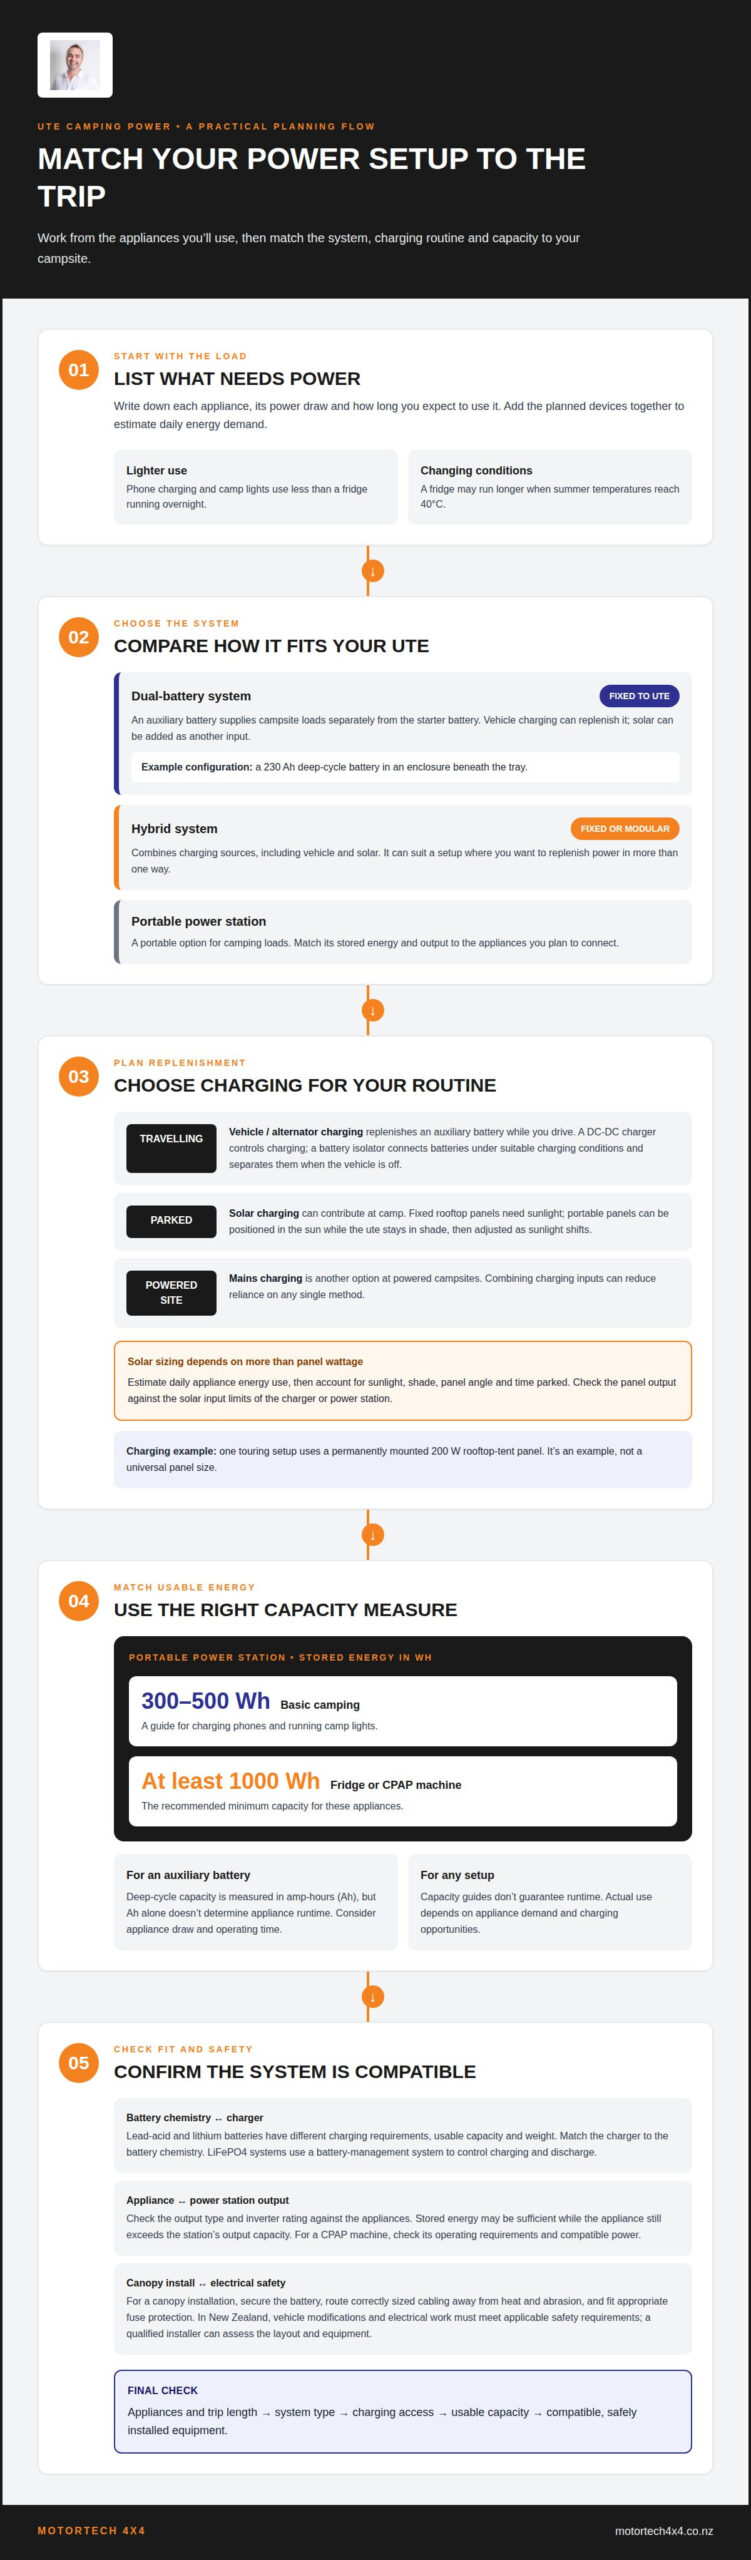
Choose a portable power station by matching its stored energy, measured in watt-hours (Wh), to your appliances. For basic camping, a 300-500 Wh unit suits charging phones and running camp lights. If you’ll power a fridge or CPAP machine, choose at least 1000 Wh. These capacity guides don’t guarantee a particular runtime: actual use depends on appliance demand and charging opportunities.
Start with a list of the equipment you’ll power. Note each appliance’s power draw and expected use, then estimate daily energy demand. A phone and camp lights draw less than a fridge running overnight. Add the demands together before choosing a power station, including all planned devices rather than sizing it for just one appliance.
Capacity is only one factor. Check the power station’s output type and inverter rating against the appliances you plan to connect. A station may store enough energy but still be unsuitable if an appliance exceeds its output capacity. For a CPAP machine, check its operating requirements and whether the station supplies compatible power.
Charging access affects the capacity you need. A station replenished during the day suits a different routine from one used through several parked nights without charging. Consider whether your New Zealand trip includes vehicle charging, solar or mains access, and how much space the unit will take in your ute. At remote campsites, plan carefully for how often you can replenish the station.
Use this decision sequence: list appliances, estimate how long each will run, check their power requirements, then compare capacity and output. Select 300-500 Wh for basic phone charging and camp lights; choose at least 1000 Wh when powering a fridge or CPAP machine. A larger station isn’t automatically better if its capacity, outputs and charging options don’t match your camping routine.
How many watts of solar panels are needed to power a camping setup in NZ?
There’s no single panel wattage for every New Zealand ute setup. Start with the energy your appliances use each day, then size panels around available sunlight and time parked. A rooftop tent with a permanently mounted 200 W panel is one example, but its suitability depends on the equipment being powered and the charging conditions.
Estimate your needs from actual appliance use rather than choosing a panel first. List each appliance, its power draw and expected daily operating time. Add the energy demands, then work out how much solar input is needed to replenish the battery. A fridge running longer in warm weather can use more energy, while lights used briefly add a smaller load.
- Check daily use: Record the appliances you’ll run, such as a fridge, camp lights or phone chargers.
- Assess the campsite: Account for shade, cloud, panel angle and how long the ute remains parked.
- Match equipment: Confirm the panel and regulator suit the battery or power station’s solar input requirements.
Fixed panels charge while the ute is parked in suitable sunlight, but the vehicle’s position can limit exposure. Portable panels let you place the array in a sunnier spot while keeping the ute shaded. With either setup, solar output changes with conditions, so plan around expected daily use rather than panel wattage alone.
For a practical setup, compare your appliance list with the panel, regulator and battery requirements before installing equipment. Explore camping gear for your ute setup to plan the equipment around your trip.
Motortech 4X4: Suspension Kits
Motortech 4X4 can help you plan a suspension upgrade if your ute’s camping setup changes how you use the vehicle. A canopy, battery system and packed camping equipment all contribute to the load you carry, so consider the complete setup before choosing modifications.
Suspension Kits may suit drivers looking for a setup aligned with their vehicle use. If you’re also planning equipment changes, Bullbars, Snorkels and GVM Upgrades are options to consider as part of the wider build. Each modification serves a different purpose, so prioritise your actual needs instead of adding equipment without a clear reason.
Discuss your ute, intended use and planned camping load with Motortech 4X4 to identify a suitable next step. Contact Motortech 4X4 to discuss your setup.
Plan your ute around the trips ahead
Your power setup is one part of a ute built for camping. Before adding equipment, consider how your travel plans, carried load and vehicle modifications work together. A clear plan helps you prioritise what matters and avoid choosing components that don’t suit how you use your vehicle.
Motortech 4X4 offers Suspension Kits, Bullbars and Snorkels for drivers planning broader vehicle upgrades alongside their camping setup. The right next step is to discuss your intended use and the changes you’re considering, so your priorities guide the build.
For help planning the vehicle side of your setup, contact Motortech 4X4 about your setup. A considered approach to camping power solutions for utes can make it easier to build a setup that fits your next trip. Start with your requirements, then shape the vehicle around them.
Frequently Asked Questions
How Do You Set Up a Ute for Camping?
Plan your trip and list the equipment you’ll carry and power. Separate essential loads, such as a fridge, from occasional-use devices like a camera charger. Decide where batteries and appliances will sit, how they’ll be secured and how you’ll access them without unpacking the whole canopy. Then check the total load against the ute’s payload and arrange the layout for everyday access.
What are the best camping power solutions for a ute in New Zealand?
The best option depends on whether you camp at powered sites, travel daily or stay parked for several days. A portable station suits a removable, self-contained setup; a dual-battery arrangement suits fixed canopy appliances and regular touring. Solar can supplement either approach. For trips around New Zealand, consider the charging sources available at your campsites and how many devices you need to run at once.
How do dual-battery systems work in utes, and what do they cost in NZ?
A dual-battery system powers campsite equipment from an auxiliary battery, keeping accessory use separate from the starter battery. Its cost depends on battery chemistry and capacity, charging equipment, monitoring, cabling and installation requirements. Treat a quoted system as a complete package rather than comparing battery prices alone. Consider whether your appliances also call for solar charging or additional outlets.
What size portable power station is suitable for ute camping?
Choose capacity based on your appliances and camping routine, not the size of your ute. Phone charging and lights need less stored energy than appliances used for long periods. List your devices, note their power requirements and expected use, then compare the demand with the station’s capacity and output. For a family trip, include everyone’s devices rather than planning around one person’s charging needs.
How do lithium batteries compare with AGM batteries for camping in a ute?
Lithium batteries, including LiFePO4, generally offer a lighter option and can provide more usable energy for their size than AGM batteries. AGM batteries use lead-acid chemistry and need a compatible charging profile. Compare usable capacity, battery weight, charger compatibility and the expected camping load. The right chemistry depends on how the ute is set up and whether its charging equipment suits that battery.
What appliances can a 100Ah battery run, and for how long?
A 100Ah battery can supply appliances such as lights, phone chargers or a fridge, but runtime depends on battery chemistry, usable capacity and each device’s power draw. A fridge also cycles rather than drawing power constantly, so conditions and use affect its demand. Check appliance specifications, estimate operating time, and monitor actual consumption on a trip before relying on a particular runtime.