Treating a roof top tent as a simple accessory rather than a significant vehicle modification is the quickest way to compromise your vehicle’s safety and handling. While the appeal of an elevated, fast-pitch camp is undeniable, mounting a heavy roof top tent introduces complex variables like centre of gravity shifts and aerodynamic drag that every NZ tourer must account for. You’ve likely felt the frustration of conflicting advice regarding dynamic versus static load ratings or worried that your chosen rack might fail on a corrugated backroad.
This guide provides the technical clarity you need to master these engineering challenges and transform your 4×4 into a high-performance touring machine. We’ll break down the structural differences between shell types, explain how to stay within your manufacturer’s GVM, and outline the June 2026 self-containment regulations. You’ll gain a clear blueprint for a build that remains stable on the highway and compliant with the latest green warrant standards. Whether you are navigating technical tracks or heading for a remote coastal spot, we ensure your setup is engineered for reliability and performance.
Key Takeaways
- Evaluate the technical trade-offs between hard shell and soft shell designs, focusing on setup speed, fuel economy, and total sleeping footprint.
- Master the critical distinction between dynamic and static load ratings to ensure your roof racks and vehicle frame safely support a roof top tent during high-speed transit and overnight stays.
- Identify the most stable mounting locations for your specific vehicle type, whether you are configuring a ute canopy or balancing a long SUV roofline.
- Understand the necessity of ADAS calibration and suspension tuning to maintain vehicle safety and handling after adding significant height and mass to your rig.
- Compare the practical advantages of elevated camping against traditional ground setups to determine if the investment aligns with your touring requirements.
Hard Shell vs Soft Shell Roof Top Tents: The Core Comparison
Choosing between a hard shell and a soft shell design is the most critical decision in your touring build. This choice dictates your vehicle’s centre of gravity, fuel efficiency, and your overall camp efficiency. While both options provide an elevated sleeping platform, they serve different touring styles and mechanical requirements. Understanding the Roof tent history and designs helps clarify why these two architectures have become the industry standards for NZ off-roaders.
The Hard Shell Advantage for Touring
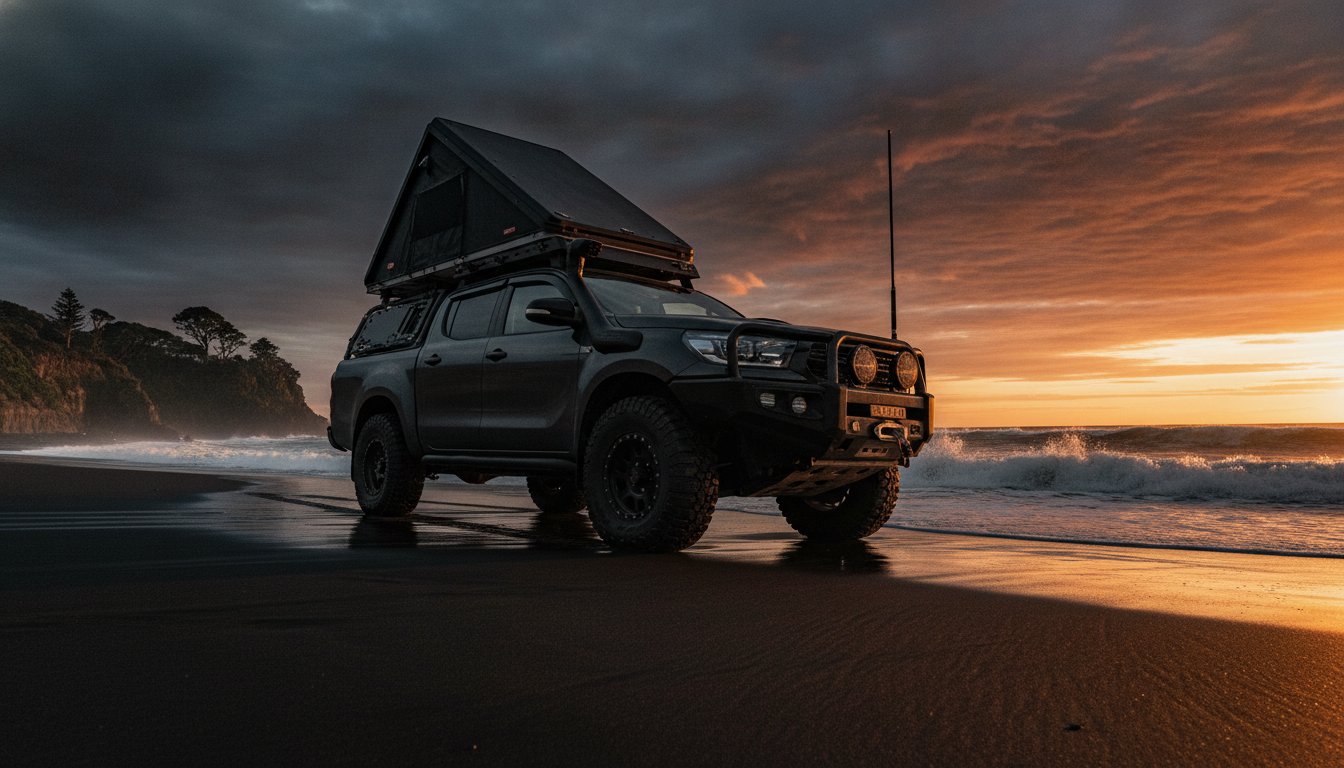
Hard shell tents are engineered for the fast-paced tourer who prioritises efficiency and protection. These units typically utilise gas-strut assistance, allowing for a setup time of approximately 30 seconds. This is a game-changer when arriving at a campsite in a West Coast downpour. Because the shell is constructed from rigid ABS plastic or powder-coated aluminium, it offers superior wind resistance and structural integrity.
The aerodynamic profile of a hard shell roof top tent is significantly lower than its soft-shelled counterparts. This reduced drag translates directly to better fuel economy for your ute or SUV, especially during long-haul highway transit. Many hard shell models also feature enough internal clearance to store your bedding while closed. This clears up vital space inside your vehicle cabin and ensures your sleeping gear remains dust-free during transit.
When a Soft Shell Makes Sense
Soft shell tents remain a popular choice for those requiring maximum internal volume. Because these tents fold out beyond the footprint of the roof racks, they often provide a larger sleeping area that is ideal for families or taller campers. They are generally lighter than hard shell units. This makes them a viable option for smaller SUVs or vehicles with more restrictive dynamic roof load limits.
The versatility of a soft shell setup often includes the ability to attach an annex. This creates a multi-room living space protected from the elements. While the setup time is longer, usually around five minutes, the trade-off is a much lower entry price and a smaller footprint on your roof when closed.
Durability in New Zealand requires careful consideration of the elements. The intense NZ sun can cause UV degradation in canvas over time, making high-density, treated fabrics essential for soft shells. Conversely, hard shells provide a robust barrier against salt air and heavy rain, though the mechanical hinges and struts require regular maintenance to prevent corrosion. Your choice should ultimately align with your vehicle’s payload capacity and how often you plan to move camp.
Roof Loads and GVM: The Technical Side of Touring
Mounting a roof top tent is a significant mechanical alteration that changes how your vehicle interacts with the road. It is not merely a piece of camping equipment; it is a structural load that shifts your centre of gravity and tests the engineering limits of your roof pillars. Failing to account for these forces can lead to catastrophic hardware failure or dangerous handling characteristics during emergency manoeuvres. Precision in these calculations is what separates a reliable touring machine from a safety liability.
Dynamic vs Static Load Ratings Explained
Understanding the distinction between dynamic and static ratings is vital for any 4×4 owner. Dynamic Load Rating is the maximum weight a vehicle can safely carry while in motion. Most standard passenger vehicles in New Zealand have a dynamic roof load rating between 50kg and 100kg, while commercial-grade utes typically range from 100kg to 200kg. This figure is significantly lower than the static rating, which refers to the weight the roof can support when the vehicle is stationary and the tent is occupied.
When you add a 70kg tent, you aren’t just adding 70kg to your roof. You must also calculate the “real” weight by including:
- The weight of the roof racks or platform system.
- Mounted awnings or shower cubes.
- Recovery gear like MAXTRAX or high-lift jacks stored on top.
- Solar panels and associated wiring.
Adding this mass to the highest point of your rig fundamentally alters its stability. On off-road tracks, this weight amplifies body roll and increases the risk of a rollover on off-camber sections. Professional installation ensures that mountings are torqued correctly and that the load is distributed evenly across the strongest points of the roof frame. If your current setup feels top-heavy, you should consider a professional suspension evaluation to restore balance and control.
GVM Upgrades for Fully Loaded Rigs
Every kilogram added to your roof counts against your rig’s Gross Vehicle Mass (GVM). This is the legal limit your vehicle can weigh when fully loaded with fuel, passengers, and gear. Exceeding this limit is a serious safety risk and can lead to insurance complications or fines. Adhering to the NZ vehicle dimension and mass rules is essential for staying compliant on public roads.
For tourers carrying a heavy roof top tent, a bullbar, and a full canopy setup, a GVM upgrade is often the only way to remain legally and mechanically sound. These upgrades involve specialised suspension components designed to manage the constant load of a touring build without compromising ride quality. Ensuring your vehicle remains within its legal weight limits is a matter of both compliance and fundamental safety for you and other road users.
Roof Top Tents vs Ground Tents: Is the Upgrade Worth It?
Deciding to transition from a traditional ground tent to a roof top tent is often the moment a casual camper becomes a dedicated tourer. While ground tents offer flexibility and lower costs, they lack the structural integration that defines a professional 4×4 setup. For many NZ adventurers, the primary draw is the ability to camp where ground tents simply cannot function. Whether you are parked on a rocky riverbed in the Southern Alps or a sloping coastal track, your sleeping surface remains perfectly level and dry.
The elevation factor provides more than just a better view. It serves as a practical barrier against the damp ground and the persistent sandflies common in remote NZ regions. Unlike ground tents that require clearing debris and finding soft earth for pegs, a roof-mounted system allows you to utilise any footprint your vehicle can access. This site versatility is essential when exploring the Department of Conservation (DOC) network, where prime flat ground is often at a premium.
Comfort levels are significantly higher due to the built-in high-density foam mattresses. You no longer need to carry bulky air pumps or worry about punctures in the middle of the night. This permanent bedding arrangement streamlines your camp rhythm, as your pillows and sleeping bags can often remain inside the roof top tent even when it is closed for transit.
Comfort and Convenience Gains
A permanent bed setup fundamentally changes how you experience a road trip. You save approximately 20 to 30 minutes every evening that would otherwise be spent wrestling with poles and inflating mats. In the NZ climate, ventilation is a critical technical requirement. A well-designed tent features superior airflow to manage the condensation that builds up in alpine or coastal humidity. This ensures a drier, more hygienic sleeping environment compared to the often-stifling interior of a small ground tent. The psychological benefit of being elevated also adds a sense of security and a superior vantage point for checking weather conditions or local terrain.
Practical Limitations to Consider
The most significant trade-off is the loss of vehicle mobility once your camp is established. If you need to drive to a local trailhead or the nearest shop for supplies, you must pack the tent down entirely. This can be a frustration for those who prefer to set up a “base camp” for several days. Additionally, the added height of the rig can be a dealbreaker for urban owners. You must measure your vehicle’s total height with the tent installed to ensure it still fits under garage doors or in multi-storey car parks. Finally, maintenance is a serious commitment. If you pack away a wet tent after a typical NZ weekend, you must open it up to dry at the first opportunity to prevent mould and fabric degradation.
Selecting the Right Setup for Your Vehicle Type
The architecture of your vehicle determines the most effective mounting strategy for a roof top tent. While a 4×4 wagon offers a long, continuous roofline, a modern dual-cab ute provides multiple mounting surfaces, each with distinct mechanical advantages. Selecting the correct system, such as a heavy-duty Rhino-Rack platform or crossbar setup, is the foundation of a safe and quiet touring rig. The goal is to achieve a mounting height that balances easy access with minimal wind resistance.
Mounting height is a critical variable that many owners overlook. A tent mounted too high on a lifted vehicle becomes difficult to deploy and pack away without a step ladder. It also increases the vehicle’s cross-section, leading to excessive wind noise and buffeting at highway speeds. Achieving a low-profile fitment requires a precise understanding of your vehicle’s mounting points and the physical dimensions of the tent’s base.
Outfitting the Modern NZ Ute
Ute owners must choose between mounting the tent over the cab or the tray. Placing the unit over the cab often leads to increased wind noise and higher fuel consumption due to the interrupted airflow over the windscreen. Conversely, utilising a canopy or a dedicated tub rack allows you to position the tent lower, often flush with the cab height. This configuration significantly improves aerodynamics and lowers the overall centre of gravity, which is vital for maintaining stability on technical tracks.
- Tub Racks: These provide a rugged, open-air mounting solution that keeps the tent low while allowing for easy access to recovery gear mounted on the sides.
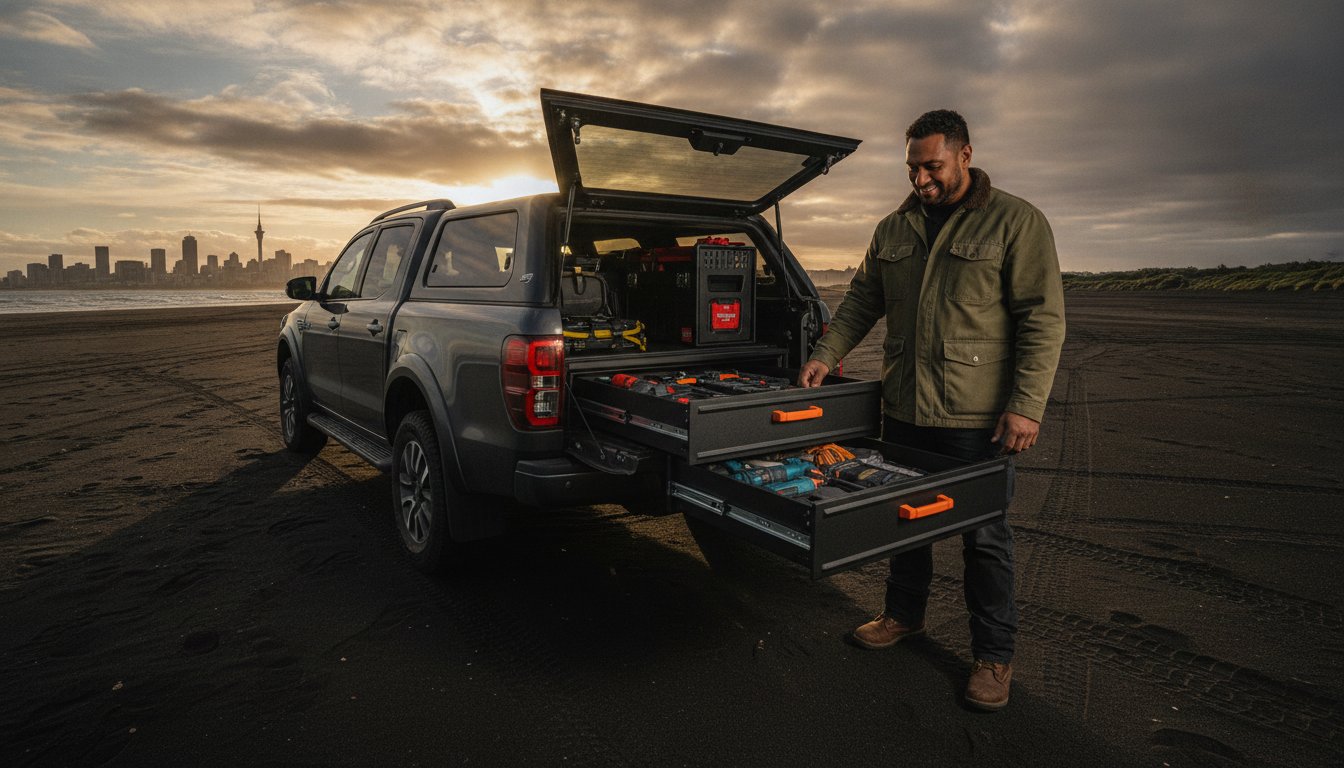
- Canopy Mounts: A reinforced canopy offers a secure, weather-proof mounting point that protects your tray contents while supporting the static load of the tent and occupants.
- Weight Distribution: Keeping the weight over the rear axle helps balance the vehicle’s payload, especially when a bullbar and winch are fitted to the front.
SUV and Wagon Integration
SUV and wagon owners must focus on weight distribution across the vehicle’s structural pillars. Distributing the mass across three crossbars instead of just two provides extra stability and reduces the stress on individual mounting points. The length of your roofline will dictate the maximum tent size you can carry. A tent that is too long can interfere with the radio antenna or prevent the rear tailgate from opening fully, which is a common frustration during quick roadside stops.
Tailgate configuration also influences your choice between rear-opening and side-opening tents. A side-opening model is often better for wagons with high-lift tailgates, as it prevents the tent ladder from obstructing access to your rear storage. For those with side-opening rear doors, like a Prado or older Pajero, a rear-deploying tent can provide a useful sheltered area over the kitchen space at the back of the vehicle.
If you are unsure which rack system suits your vehicle’s specific roof load limits or tailgate configuration, you should consult our technical team for a professional fit-out recommendation.
Professional Installation and Safety Calibration
Professional installation is the final, non-negotiable step in building a reliable touring machine. While many owners attempt a DIY fitment, mounting a heavy roof top tent involves more than simply tightening a few U-bolts. Incorrect torque settings or poor load positioning can lead to hardware fatigue and dangerous vibrations on corrugated NZ backroads. A professional fit-out ensures that the structural integrity of your roof system is maintained and that the tent is integrated seamlessly with your vehicle’s existing safety and electrical systems.
Integrating your setup also involves planning for auxiliary power and vehicle lighting. Modern touring builds often require 12V power routed to the tent for internal LED lighting and USB charging ports. Managing these cables so they don’t snag during deployment or pack-down requires a level of detail that professional installers provide. This technical foresight ensures your camp remains functional and safe throughout its service life.
ADAS and Suspension Tuning
Modern 4x4s are equipped with Advanced Driver Assistance Systems (ADAS) that rely on precise sensor data to function correctly. Adding significant weight and height to your roof alters the vehicle’s pitch and roll characteristics. This change in rake can misalign front-facing cameras and radar sensors used for emergency braking and lane-keep assist. Consequently, a professional ADAS calibration is necessary after any significant modification to ensure these life-saving systems continue to operate within factory parameters.
Beyond electronic safety, your vehicle’s physical stance requires adjustment. A constant load on the roof often leads to rear-end sag, which compromises steering response and increases braking distances. Upgrading to heavy-duty suspension kits specifically valved for touring loads is the best way to manage this. These components are designed to maintain a level ride height and provide the necessary damping to control the increased leverage caused by the tent during cornering.
The Motortech 4X4 One-Stop Solution
We provide a comprehensive integration service that goes beyond simple hardware mounting. Our team combines precision installation with professional 4×4 servicing to ensure your entire rig is prepared for the demands of remote travel. This holistic approach means we check your vehicle’s structural mounts, suspension health, and electronic alignment in a single session. This efficiency is vital for tourers who value mechanical reliability over quick, unverified fixes.
For commercial operators or fleet managers, we offer custom fleet fit-outs designed for durability and compliance. Every installation concludes with a rigorous safety check, verifying all torque settings and the structural integrity of the roof system. By centralising your build with specialists who understand the intersection of performance and safety, you ensure your rig is a dependable asset on every NZ adventure.
Engineer Your Ultimate Touring Build
Selecting the right roof top tent is the first step toward self-sufficient touring, but the technical integration of that weight is what determines your vehicle’s longevity and safety. You now understand the critical trade-offs between shell types and the necessity of staying within your vehicle’s dynamic load limits. Balancing these requirements ensures your 4×4 remains stable on off-camber tracks and compliant with NZTA regulations. From managing GVM limits to recalibrating modern safety sensors, a methodical approach to your setup prevents mechanical failure when you are far from the nearest workshop.
At Motortech 4X4, we are Auckland specialists in GVM upgrades and ADAS calibration, providing a comprehensive 4×4 mechanical service centre for serious tourers. Our team are expert installers of leading roof rack and camping brands, ensuring every component is fitted with mechanical precision. We verify your torque settings, assess your suspension, and calibrate your electronics to handle the added mass of your gear. Get your rig ready for adventure with Motortech 4X4 and experience the confidence of a professionally engineered setup. Your next remote NZ expedition starts with a vehicle built to handle the journey.
Frequently Asked Questions
Do roof top tents fit on any car in New Zealand?
No, they don’t fit every vehicle. Fitment depends entirely on your vehicle’s dynamic roof load rating and the structural integrity of the roof pillars. While most 4×4 utes and SUVs are capable, many smaller passenger cars have ratings below 75kg. This is often insufficient once you account for the combined weight of the roof racks and the tent itself. Always consult your manufacturer’s manual for specific weight limits before purchase.
How much does a roof top tent affect fuel economy?
You should expect a fuel economy decrease of roughly 10% to 20% after mounting a roof top tent. The exact impact depends on your cruising speed and whether you choose a low-profile hard shell or a bulkier soft shell model. Hard shell designs are significantly more aerodynamic, which helps mitigate drag on long highway stretches. Reducing your speed is the most effective way to manage this increased consumption during transit.
Can I leave my bedding inside a roof top tent?
Most hard shell tents allow you to leave your bedding inside when the unit is closed. This is a significant convenience factor for tourers who move camp daily. Some soft shell models also accommodate thin sleeping bags, but you must ensure the fabric isn’t pinched in the folding mechanism. Always check the internal clearance specifications of your chosen model to avoid putting unnecessary strain on the hinges or gas struts.
Is it safe to sleep in a roof top tent during high winds?
It is safe to sleep in an elevated tent during high winds if the vehicle is positioned correctly. You should park with the narrowest part of the tent or the vehicle’s nose facing the wind to reduce the surface area. Hard shell models offer superior stability and produce less noise in these conditions. If the wind becomes extreme, it’s safer to pack the tent down to prevent structural damage to the struts or canvas.
Do I need a GVM upgrade if I install a roof top tent and a bullbar?
A GVM upgrade is frequently necessary for builds featuring both a bullbar and a heavy tent. These accessories, combined with a winch and recovery gear, can quickly push a modern ute toward its legal weight limit. An upgrade ensures your suspension is engineered to handle the constant mass safely. This keeps your rig legally compliant and prevents the rear-end sag that compromises steering response and braking performance.
How do I clean and maintain my roof top tent in NZ conditions?
Maintenance in NZ conditions requires regular rinsing with fresh water to remove salt residue and road grime. You must ensure the canvas is completely dry before storing it for more than a few days to prevent mould growth. Periodically check all mounting bolts for tightness, as NZ’s corrugated backroads can vibrate hardware loose over time. Lubricating moving parts with silicone spray will also prevent corrosion from high coastal humidity.
Can I install a roof top tent by myself?
Professional installation is highly recommended to ensure the mountings are torqued correctly and the load is balanced. While the physical act of bolting the tent to the racks is straightforward, assessing the structural impact on your vehicle requires technical expertise. Our team also handles the necessary ADAS calibration that modern vehicles require once the ride height and weight distribution have been altered by a large, heavy accessory.
Will a roof top tent cause wind noise while driving?
You will notice an increase in wind noise, though the severity depends on the tent’s profile and mounting height. Hard shell tents are designed to be aerodynamic and are generally much quieter than soft shell versions. Mounting the tent as low as possible to the roofline or using a wind fairing can help deflect airflow away from the base. This reduces the whistling and buffeting sounds commonly heard at highway speeds.